How to Make a Scandinavian Paper Star Decoration
Two squares of paper, a few straight cuts and a dab of glue become a crisp 3D star that looks beautiful in a winter window.
By the HotsBuzz team ·
- Skill levelEasy
- Time15-20 minutes per star
- Budget$3-$10
- Steps7
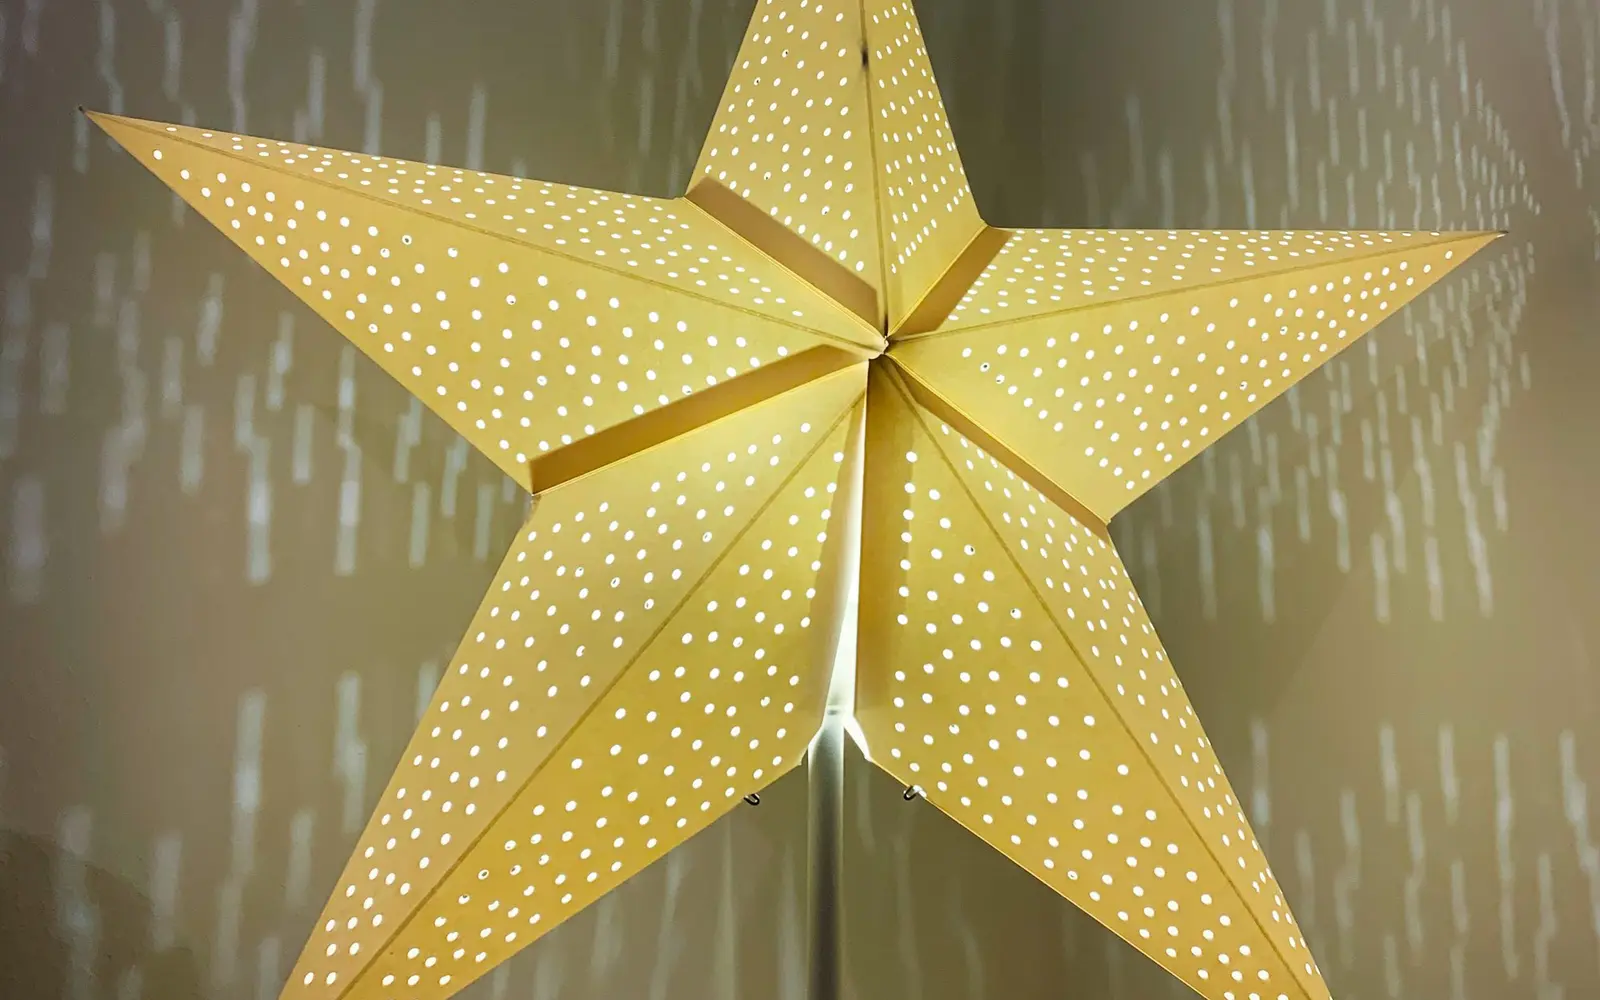
A Scandinavian paper star is all about clean lines and soft light. Hung in a window or clustered over a table, a few white stars give a room that calm, Nordic winter feeling without any clutter.
This version is built from two identical squares. Each square gets four short cuts and is folded into a raised four-pointed shape; glue the two halves back to back and you have a dimensional star. Turn one half 45 degrees before gluing and you get eight points instead of four.
It is a great project for an evening with a cup of something warm, and older kids can manage it with a little help on the cutting.
Materials & tools
Tick things off as you gather them. We’ll remember your list on this device.
You’ll need
Tools
Step-by-step instructions
Crease the square
Fold the square in half corner to corner both ways, unfolding each time; these diagonal folds should all point the same way, like a shallow tent. Flip the paper over and fold it in half edge to edge both ways. Now you have eight creases meeting at the center.
Mark your cuts
The cuts follow the straight edge-to-edge creases, not the diagonals. Measure from the center along each straight crease and mark a point about one third of the way out. For an 8-inch square, that is about 1.25 inches from the center.
Cut the four slits
Cut from the outer edge along each straight crease, stopping at your mark. You now have four corners, each split into two flaps by the cuts on either side.
Fold the points
Take one corner and fold its two flaps toward each other along the diagonal crease so one overlaps the other, forming a raised triangular point. Glue the overlap and hold it with a clip for a minute. Repeat on all four corners.
Make the second half
Repeat steps 1-4 with the second square. Make sure both halves are folded in the same direction so they fit back to back. If one half looks slightly larger, trim the other square a touch before folding next time; small size differences show at the seams.
Join the halves
Apply glue to the flat back edges of one half. Press the second half on, either lined up point to point for a bold four-point star, or rotated 45 degrees for an eight-point star. Clip the edges until dry.
Hang it
Thread a needle with fishing line or twine, pass it through one point near the tip, and tie a loop. Hang several at staggered heights for the best effect. Clear removable hooks at the top of a window frame hold them without marking the paint.
Tips for success
- Crisp creases are everything. Run a bone folder over every fold before cutting.
- Cutting past the one-third mark weakens the center; cutting too short makes stubby points. Do one practice star on printer paper.
- Use only battery LED lights near paper stars, never candles or hot incandescent bulbs.
- Mix sizes from 4 to 12 inches in one window display; the variation is what makes it look styled.
- Wrap finished stars around a strand of warm-white LED fairy lights, tucking a bulb inside each star through a gap between the halves, for a soft glow at night.
Make it your own
Paper bag star
Glue seven small paper lunch bags in a stack with a glue line along the bottom and up the middle, cut a pointed design into the top, then fan them open into a large star.
Patterned stars
Use double-sided patterned paper or old sheet music. The pattern catches light differently on each facet.
Star garland
Make 3-4 inch stars and thread them onto a single length of twine, spacing them about 8 inches apart.
Kraft paper gift toppers
Make 3-inch stars from brown kraft paper and glue one to the top of each wrapped present with a sprig of greenery. They double as ornaments after the gifts are opened.
Frequently asked questions
What paper is best for a Scandinavian paper star?
Medium-weight paper that folds cleanly without cracking. Cardstock is too stiff to fold the points neatly, and thin printer paper can sag on larger stars. Paper with a slight sheen or a translucent vellum looks lovely when light shines through it.
Can kids make these?
Kids around 8 and up can usually fold and glue them; younger children enjoy decorating precut, prefolded stars with stickers or crayons. An adult should handle sharp scissors and any craft knife, and it helps to pre-crease the squares for little hands.
How do I store paper stars?
Store them flat-packed in a shallow box with tissue between layers, or hang them in a closet. Avoid stacking heavy items on top.