Pinecone Place Card Holders and Acorn Table Decor
Foraged pinecones become sturdy name card holders, and a bowl of acorns fills in the rest of the table. Natural, cheap and ready in an afternoon.
By the HotsBuzz team ·
- Skill levelEasy
- Time1 hour active, plus 1-2 hours baking and drying
- Budget$5-$12
- Steps7
Pinecone place card holders are one of those crafts that look polished on a holiday table but cost almost nothing. A pinecone’s scales grip a small name card perfectly, so there’s no clip or glue needed to hold the card itself. Add a few acorns scattered along the runner and you have a cohesive, natural table setting.
The real work is in prep. Foraged pinecones and acorns can carry sap, dirt and tiny insects, so you’ll want to clean and bake them before they come anywhere near the dinner table. It’s easy, just give yourself an afternoon a day or two ahead.
This guide makes 12 place card holders plus a small acorn display, but it scales up or down easily.
Materials & tools
Tick things off as you gather them. We’ll remember your list on this device.
You’ll need
Tools
Step-by-step instructions
Soak and rinse
Soak the pinecones in a bowl of water with a splash of vinegar (about 1 cup per gallon) for 20-30 minutes. They’ll close up as they absorb water, which is normal. Swish the acorns in the same way, then rinse everything and spread it on a towel.
Bake to dry and sanitize
Heat the oven to 200°F. Spread pinecones on a foil-lined sheet and bake for 1-2 hours, checking every 20 minutes, until they’re fully open and dry. Bake acorns separately at the same temperature for about 1-2 hours. Never leave the oven unattended, since sap and dry cones can scorch.
Level the bases
Once cool, check that each pinecone stands upright. If it wobbles, trim the bottom carefully with pruning shears, cutting away from your hands, or press a small dab of hot glue on the base to act as a foot.
Add a frosted finish (optional)
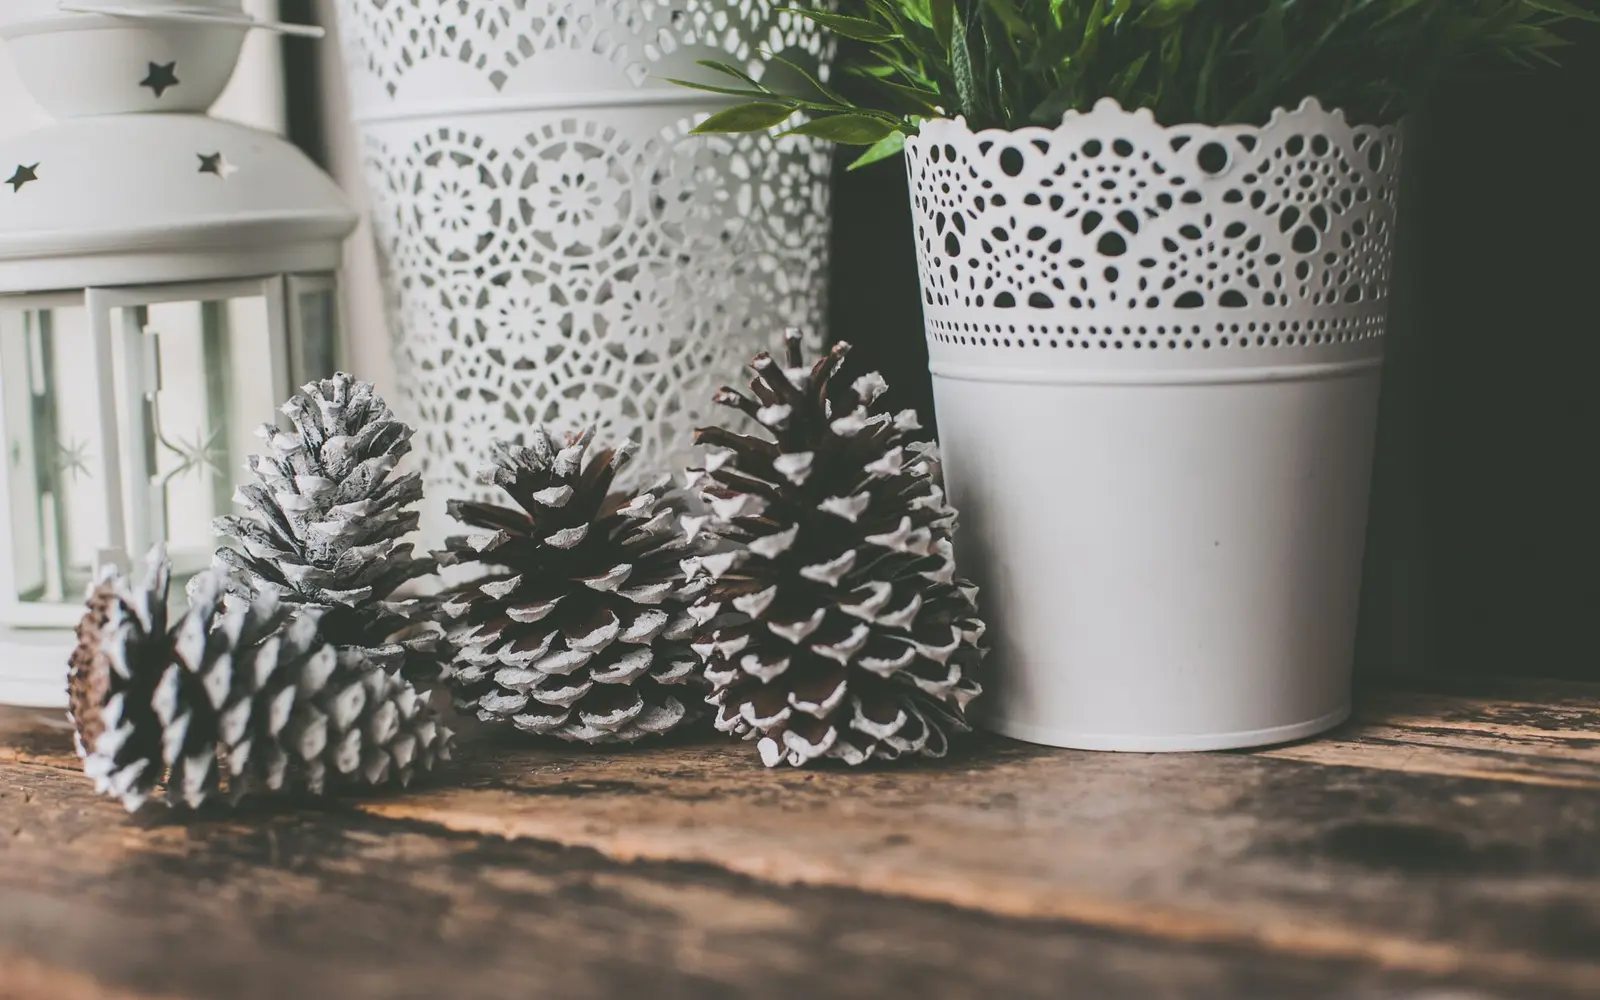
Dab a little white or gold paint on the tips of the scales with a dry sponge for a frosted look. Keep the color light so the natural texture still shows. Let it dry for 30 minutes.
Write and insert the cards
Write each guest’s name on a card, keeping it within the top two-thirds so it’s visible above the cone. Slide the bottom of the card between two top scales at a slight backward angle. Wiggle gently until it stands firmly.
Finish with acorn accents
Hot glue a single acorn or acorn cap at the base of each pinecone, or tie a short twine bow around the bottom scales. Pile the remaining acorns in a shallow bowl or scatter them along the table runner between candles and greenery.
Seal and set the table
If you painted the cones, mist them lightly with clear matte sealer outdoors or in a well-ventilated space and let them dry for an hour. Set one holder at the top of each plate or tucked beside the water glass, card facing the chair. Keep a couple of spare blank cards handy for last-minute guests.
Tips for success
- Bake pinecones only at low heat and keep a close eye on them; sap can drip and smoke, and dry cones are flammable.
- Acorns are toxic to dogs and can be a choking hazard for small children, so keep the table decor out of reach and clean up afterward.
- If you don’t have time to bake acorns, freeze them for 48 hours instead to deal with any insects inside.
- Hot glue can cause burns; use a low-temp gun and let kids handle the card writing instead.
- Spray sealer should only be used outdoors or with windows open and a fan running; keep kids and pets out of the area until it dries.
Make it your own
Mini pumpkin card holders
Cut a small slit in the stem of a tiny pumpkin or gourd with a craft knife and slip the card inside. Mix them with the pinecones for a varied table.
Acorn cap candle ring
Hot glue acorn caps around a 4 in. cardboard ring and set a glass-enclosed LED candle in the middle. Keep real flames away from dried natural decor.
Gold-dipped pinecones
Paint just the bottom third of each pinecone with metallic gold acrylic for a dipped look that matches gold flatware or chargers.
Take-home favors
Tie a small muslin bag of spiced nuts or a mini jar of jam to each pinecone with twine. Guests find their seat and take home a little thank-you gift at the end of the night.
Frequently asked questions
Do I really need to bake foraged pinecones?
It’s strongly recommended. Baking dries them so they open fully and helps deal with insects and sap. Unbaked cones may slowly open on the table and drop debris.
How far ahead can I make these?
Clean and bake pinecones and acorns up to a few weeks ahead and store them in a paper bag. Write the name cards a day or two before the meal.
Can I buy pinecones instead?
Yes. Craft-store pinecones are already cleaned and dried, so you can skip straight to leveling the bases and decorating. Some are scented, which you may want to avoid near food.