DIY Pressed Flower Bookmarks (No Resin Needed)
Turn a handful of garden blooms into bookmarks that last for years, sealed with simple laminating sheets instead of messy resin.
By the HotsBuzz team ·
- Skill levelEasy
- Time1 hour plus 1-3 weeks pressing
- Budget$8-$15
- Steps7
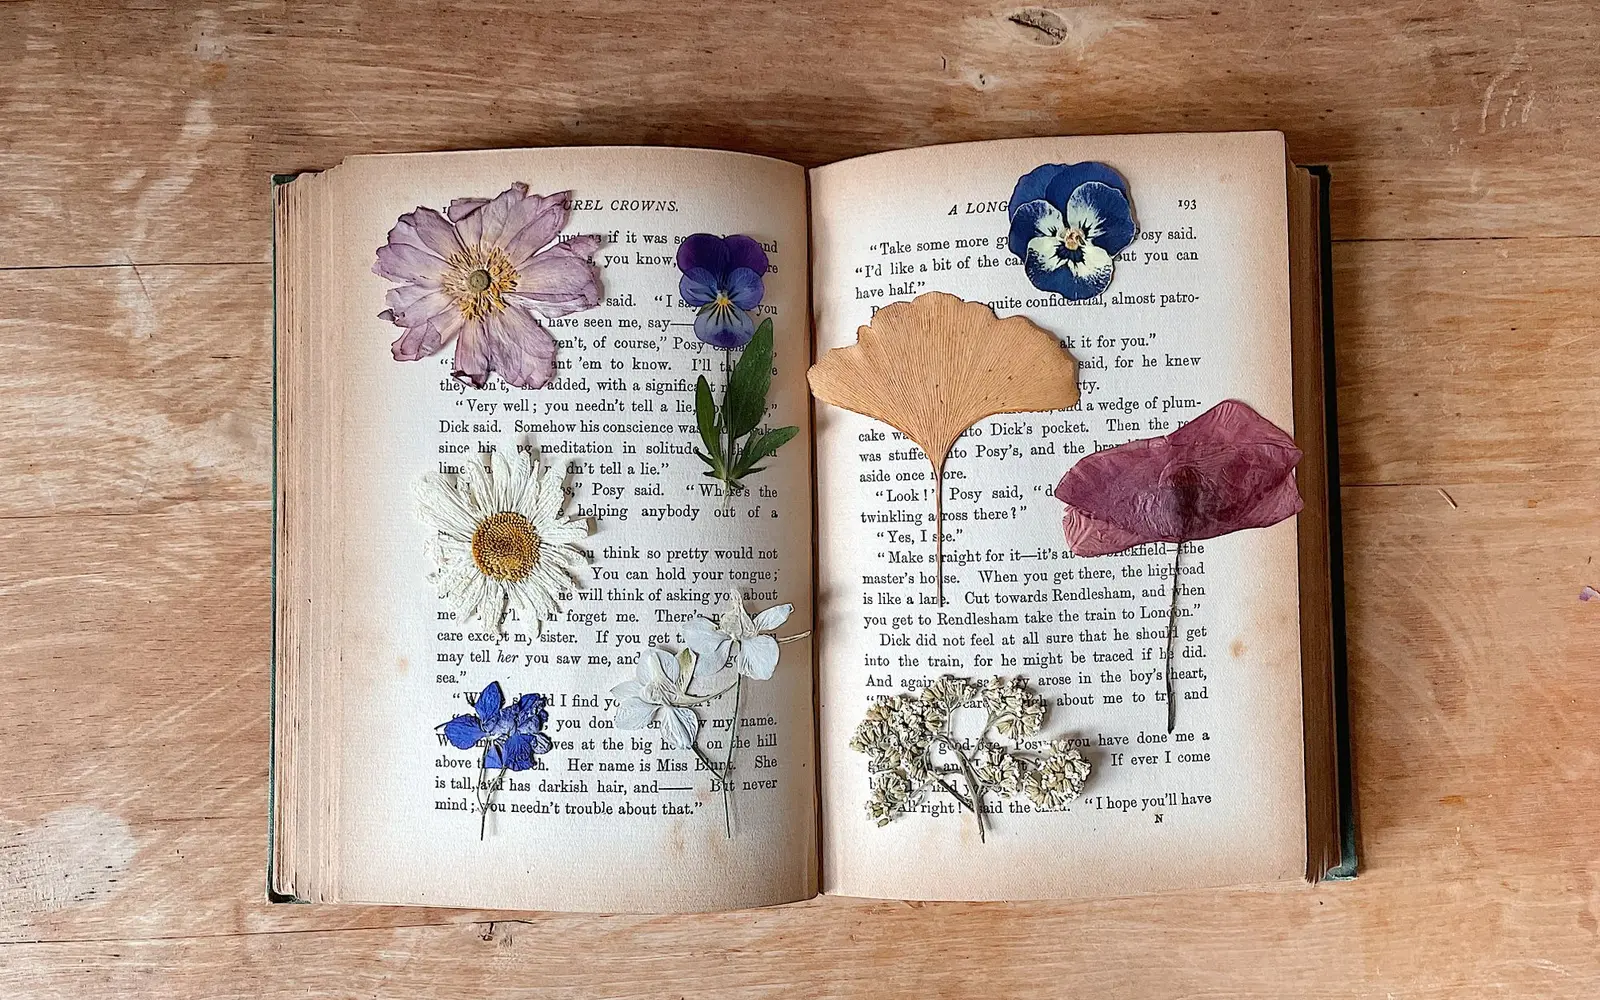
Pressed flower bookmarks are one of the sweetest ways to hold onto a season. A few violas from the garden, a sprig of fern from a walk, or a petal from a wedding bouquet become something you’ll actually use every day.
Many tutorials reach for epoxy resin, which needs gloves, careful measuring and a long cure. This version skips all of that. You press the flowers flat, arrange them on a strip of cardstock, and seal everything under clear laminating film. The result is thin, flexible, wipe-clean and safe for kids to help make.
The only real investment is time: flowers need one to three weeks in a press to dry fully. Start a batch now and you’ll have a stack of handmade gifts ready by the next birthday or teacher appreciation day.
Materials & tools
Tick things off as you gather them. We’ll remember your list on this device.
You’ll need
Tools
Step-by-step instructions
Pick flowers at the right moment
Harvest late in the morning after dew has dried, choosing blooms that have just opened. Flat or single-layer flowers press best; thick ones like roses or peonies are better pulled apart into individual petals.
Press them flat
Open a heavy book near the back, lay down a sheet of parchment, and arrange flowers face down without overlapping. Cover with a second sheet, close the book, and stack more books on top. Leave it somewhere dry for 1-3 weeks, swapping in fresh paper after the first few days if the sheets feel damp.
Prepare the bookmark base
Cut cardstock or watercolor paper into 2 x 6 in. strips. If you like, brush on a pale watercolor wash or letter a name or short phrase near the bottom, then let it dry completely.
Arrange your design
Using tweezers, lay pressed flowers and leaves on each strip. Keep everything at least 1/4 in. from the edges so the laminate can seal around it. Odd numbers and a mix of one focal bloom with a few small fillers tend to look balanced.
Tack flowers in place
Lift each piece and dab a pin-sized dot of glue underneath with a toothpick, then press it back down. Too much glue will show through as a shiny blotch, so less is better. Let it set for 10 minutes.
Seal with laminating film
For self-adhesive sheets, peel back the liner, lay the bookmark on the sticky side, and smooth the second half over it from one end to the other with a ruler to push out air. For thermal pouches, slide the bookmark in and run it through the laminator on the setting for your pouch thickness.
Trim and finish
Cut around each bookmark leaving a sealed clear border of about 1/8 in. so moisture can’t creep in. Round the corners with scissors, punch a hole centered at the top, and loop through a ribbon or tassel.
Tips for success
- Fully dry flowers are crisp and papery. If any feel cool or soft, give them another week; sealing damp flowers can lead to browning.
- Blues, purples and yellows tend to hold their color best after pressing. Reds and whites often darken or turn translucent.
- If kids are helping, let them handle arranging and the self-adhesive sheets, and keep thermal laminators and scissors with an adult.
- Store spare pressed flowers between parchment in a labeled envelope so you can make more bookmarks anytime.
- Never pick wildflowers in parks or protected areas; use your own garden, grocery bouquets or a friend’s yard.
Make it your own
Clear floating bookmark
Skip the cardstock and arrange flowers directly on the laminating film for a see-through bookmark. It looks like the blooms are suspended in glass.
Gift tags and cards
Use the same method on 3 x 4 in. tags or the front of a folded card. Laminated flower tags double as a keepsake once the gift is opened.
Watercolor background
Paint each cardstock strip with a loose wash of soft green, blush or sky blue before adding flowers. Pale backgrounds make delicate petals stand out, and slight streaks look intentional once the blooms are on top. Let the paint dry overnight so the paper is flat and fully dry before you laminate it.
Microwave-pressed flowers
Short on time? Sandwich flowers between paper towels and two ceramic plates and microwave in 30-second bursts, checking each time, until dry. Let them cool before handling.
Frequently asked questions
How long do laminated pressed flower bookmarks last?
Kept out of direct sunlight, they can last for years. Colors will slowly soften over time, which many people find adds to the charm.
Can I use flowers from a bouquet?
Yes. Press them as soon as possible while they’re still fresh, and separate thick flowers into single petals first.
Do I need a flower press?
No. A stack of heavy books works well. A press just makes it easier to apply even pressure and keep batches organized.