How to Make Giant Crepe Paper Flowers
Oversized blooms that look sculpted but are just paper, glue and a little patience. Here’s how to shape petals that hold their curve.
By the HotsBuzz team ·
- Skill levelModerate
- Time2-3 hours per flower
- Budget$15-$25
- Steps8
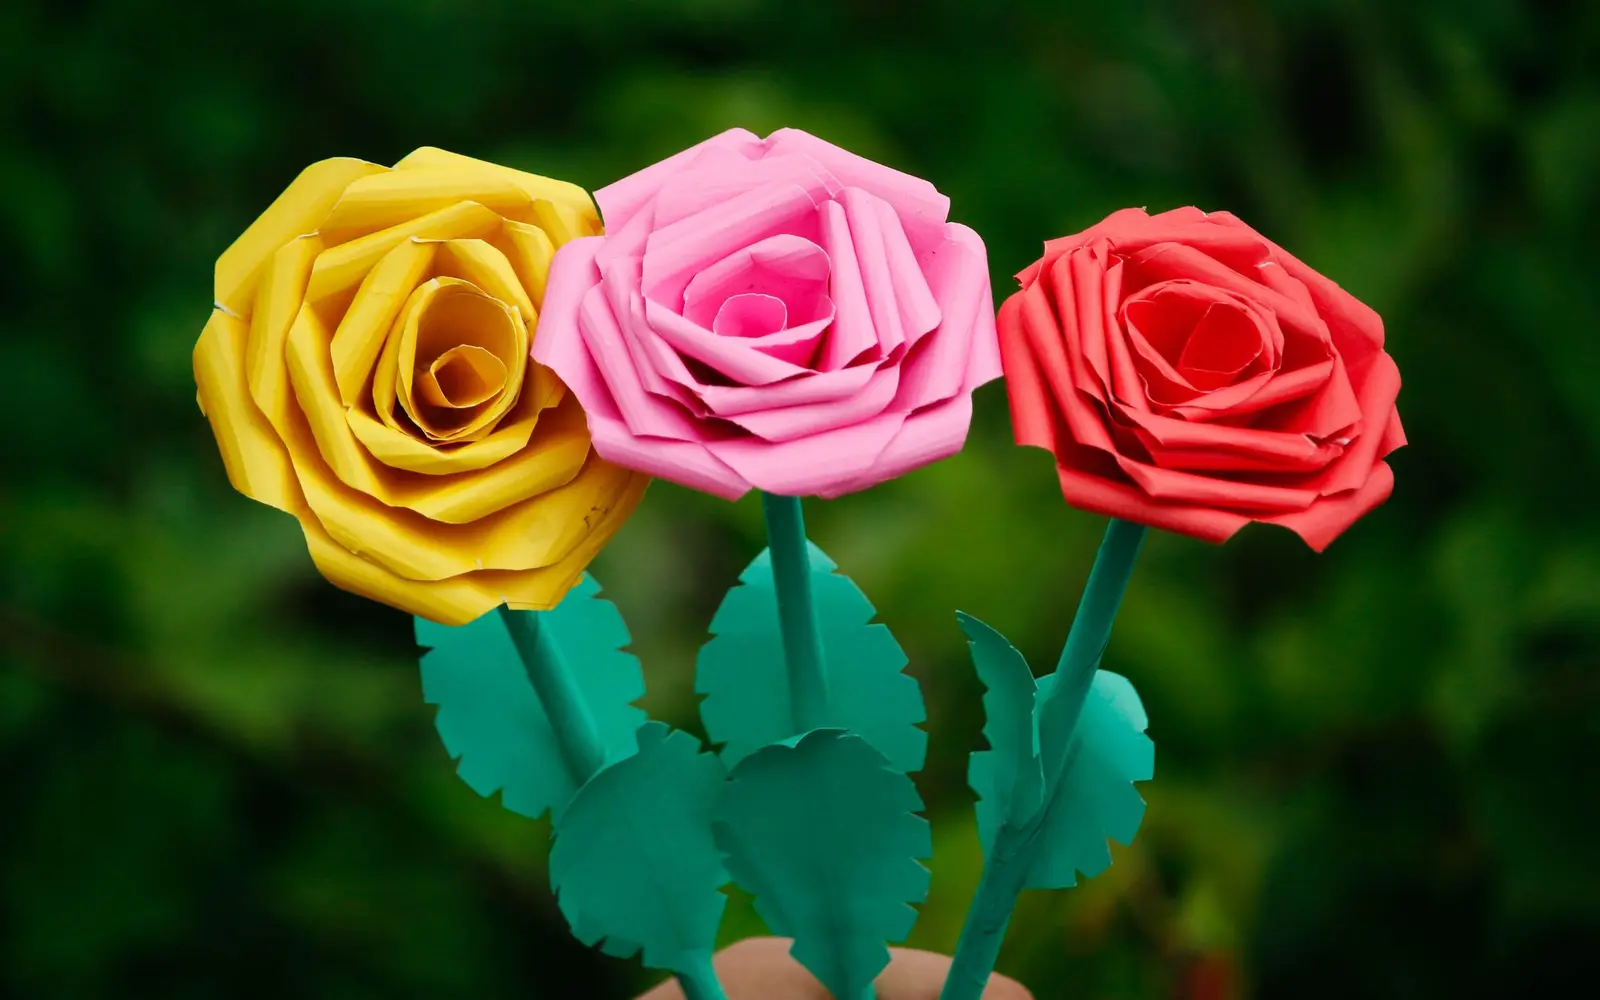
Few crafts make an entrance like giant crepe paper flowers. A single 20-inch bloom can anchor a party backdrop, fill an empty corner, or stand in a tall vase where fresh flowers would wilt in a day. Better yet, they’re made from the humblest supplies: a few rolls of crepe paper, glue and something stiff for a stem.
The secret is in how crepe paper behaves. It has a visible grain, and when you stretch it across that grain it cups and curls like a real petal, then holds the shape. Once you learn that one move, every flower from a peony to an open rose becomes a variation on the same steps.
This tutorial walks through a big, open garden-rose style bloom about 18-22 inches across. Expect your first one to take a couple of hours; the second goes noticeably faster.
Materials & tools
Tick things off as you gather them. We’ll remember your list on this device.
You’ll need
Tools
Step-by-step instructions
Cut three petal templates
Draw three rounded teardrop shapes on cardstock: small (5 in. tall x 4 in. wide), medium (7 x 6 in.) and large (9 x 8 in.). Give each a slightly flat top so the petals read as roses rather than daisies. Cut them out and label them.
Cut petals with the grain
Unroll the crepe paper and note the fine vertical lines; that’s the grain. Fold a strip into a few layers and trace the templates so the petal’s height runs with the grain. Cut about 8 small, 10 medium and 12 large petals.
Stretch each petal into a cup
Hold a petal with both thumbs in the middle and gently pull outward across the grain. The center will bulge into a soft cup. Go slowly; heavyweight paper stretches a lot, but a hard yank can tear it.
Curl the edges
Wrap the top edge of each medium and large petal around a skewer and roll it outward a half turn, then slide the skewer out. Curl the small petals inward instead so they hug the center. Mixing in a few uncurled petals keeps the flower from looking too uniform.
Build the center
Cut a 4 x 12 in. strip of yellow or green crepe paper, fringe one long edge in narrow cuts about 1 in. deep, and roll it tightly around the top of the dowel, gluing as you go. Wrap the base of the fringe with floral tape so it stays put.
Layer the petals
Glue the small petals around the center first, overlapping each by about half, with the cups facing in. Add the medium petals in the next round, staggering them between the gaps, then finish with the large petals. Apply glue only to the bottom 1/2 in. of each petal so the tops stay free to move.
Add a calyx and leaves
Cut five pointed green sepals about 3 in. long and glue them around the base to hide the petal ends. For leaves, glue a length of floral wire between two leaf-shaped pieces of green crepe, then tape them to the stem. Wrap the whole dowel in floral tape, stretching it as you go so it grips.
Fluff and shape
Stand the flower in a heavy vase or a bucket of sand and step back. Gently pull outer petals down and outward, and push inner ones toward the center until the bloom looks full from every side you plan to show.
Tips for success
- Use a low-temp glue gun and keep a bowl of cool water nearby; hot glue soaks through thin paper and can burn fingertips. Keep the gun out of reach of kids, who can help with stretching and curling instead.
- If a petal looks flat after gluing, you can still re-stretch it gently in place.
- Crepe paper fades in direct sun, so display flowers away from bright windows if you want them to last for years.
- For a wall installation, skip the dowel and glue petals onto a 6 in. cardstock circle, then hang it with a removable adhesive strip or a small loop of ribbon.
- Make one test petal from each paper color before cutting a full set; some colors stretch more than others.
Make it your own
Ombre bloom
Use a light shade for the inner petals and a deeper shade of the same color for the outer ring. The gradient gives depth without any painting.
Peony-style ball
Cut twice as many small petals and cluster them tightly around the center with the cups facing inward, then add only one ring of large petals. The result is a dense, rounded flower.
Painted edges
Before shaping, brush the top edge of each petal with diluted acrylic paint or chalk pastel for a soft blush tip. Let it dry fully before stretching.
Frequently asked questions
Can I use thin party streamer crepe paper?
You can for small flowers, but it won’t hold a cup shape on petals this large. Heavier crepe paper stretches further and keeps its curve, which is what makes giant blooms look sculpted.
How do I store giant paper flowers?
Stand them upright in a tall box or hang them upside down by the stem in a closet. Avoid stacking, since crushed petals are hard to reshape.
How many flowers do I need for a backdrop?
For a 6 x 6 ft wall, five to seven large blooms mixed with a handful of smaller ones and some loose leaves usually looks full. Lay them out on the floor first to test the arrangement.