Paper Pumpkin Craft with Easy Paper Strips
Twelve strips of cardstock and two brads turn into a round, cheerful pumpkin you can make in any color and size.
By the HotsBuzz team ·
- Skill levelEasy
- Time20-30 minutes
- Budget$4-$10
- Steps7
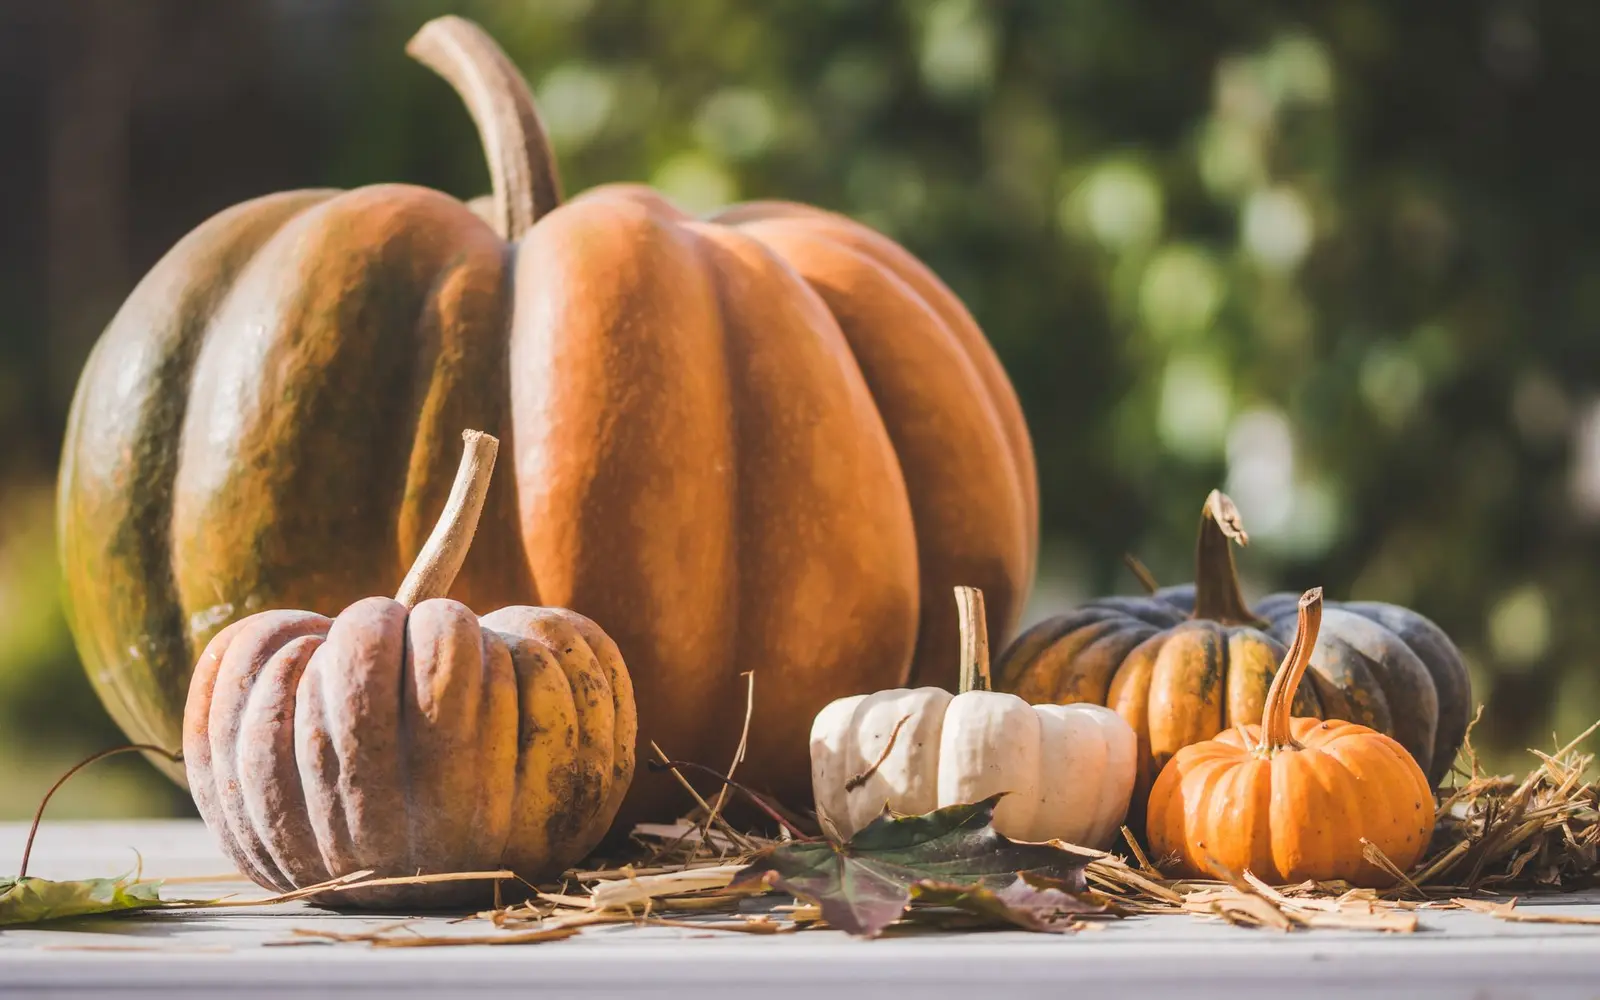
This paper pumpkin craft is one of the easiest ways to decorate for fall: a stack of cardstock strips is fastened at both ends and fanned into a round 3D pumpkin. No carving, no mess, and it lasts all season.
It works for every age. Little ones can help choose colors and fan the strips, while older kids and adults can play with patterned paper, mixed sizes and stems made from twigs or pipe cleaners.
Make a single pumpkin for a desk, or a cluster of five in different heights for a mantel or table centerpiece.
Materials & tools
Tick things off as you gather them. We’ll remember your list on this device.
You’ll need
Tools
Step-by-step instructions
Cut the strips
Cut 12 strips 1 inch wide by 11 inches long from the long edge of the cardstock. For a smaller pumpkin, cut strips 3/4 inch by 8.5 inches; for a squat, wide pumpkin, keep the length and use more strips. A paper trimmer gives the straightest strips, but a ruler, pencil and careful scissors work too. Straight, even strips are what make the finished pumpkin look round.
Punch the holes
Stack the strips neatly and line up the ends. Punch a hole centered 1/2 inch from each end, through all strips if your punch can manage it, or a few at a time using the first strip as a guide. Holes that line up neatly help the pumpkin sit evenly.
Fasten the bottom
Push a brad through the bottom holes of the whole stack and open its prongs flat. This end becomes the base of the pumpkin.
Fasten the top
Thread the stem pipe cleaner or a loop of twine through the top holes if you like, then gently bend the stack into an arch and push the second brad through the top holes. The strips will bow outward.
Fan into a ball
Spread the strips evenly around the brads like the segments of an orange, until the shape looks round from every side. Press the top down slightly for a squatter, more realistic pumpkin. If a few strips cross over each other, nudge them back into place one at a time.
Add the stem and leaf
Twist the pipe cleaner into a stem and curl the extra length around a pencil to make a vine. Cut a simple leaf from green cardstock and attach it near the stem with a glue dot.
Style and display
Set the pumpkin on a mantel, a windowsill or a stack of books, turning it so the neatest side faces out. Group it with a couple of smaller pumpkins in coordinating colors. If it will sit near a door or vent, tack the base down with a removable glue dot so a draft does not roll it away.
Tips for success
- Double-sided cardstock looks best because both sides of each strip show once fanned.
- Brads and pipe cleaner ends are small and pointy; supervise children under 5 closely and keep spares out of reach.
- If your pumpkin leans, adjust the spacing so the heavy side has fewer strips, or add a small glue dot between strips at the base.
- Let kids write things they are thankful for on each strip before assembling for a fall gratitude pumpkin.
- Make a centerpiece by grouping three to five pumpkins in different sizes and colors on a tray with a few real leaves or mini gourds.
Make it your own
Neutral farmhouse pumpkins
Use cream, kraft and sage cardstock and a real twig stem for a soft, modern fall palette that can stay out from September through Thanksgiving.
Book-page pumpkins
Cut strips from an old book or sheet music and brush the edges with orange chalk ink for a vintage look.
Jack-o’-lantern face
Glue black paper eyes and a grin across three of the front strips for a friendly Halloween version.
Glowing lantern pumpkin
Use vellum or translucent paper strips and set the finished pumpkin over a battery LED tea light. Never use a real candle with paper decorations.
Frequently asked questions
Can I make a paper pumpkin craft without brads?
Yes. Stack the strips and staple each end instead, or glue the ends together and hold them with a clothespin until dry. Brads simply make it easier to fan the strips evenly.
How many strips do I need?
Eight strips give an open, airy pumpkin; 12-16 make a fuller, rounder one. More than 16 can get hard to fasten, since the brad prongs may not reach through the stack. If you want a very full pumpkin, use slightly thinner paper so the stack stays slim.
How do I keep paper pumpkins from getting crushed in storage?
Remove one brad and store the strips flat in an envelope, then reassemble next year in a couple of minutes. Leaving the bottom brad in keeps the strips in order.