Paper Bat Wall Decor: A Swarm of 3D Halloween Bats
Black cardstock bats with folded wings make a striking swirl across a wall, and they come down cleanly after Halloween.
By the HotsBuzz team ·
- Skill levelEasy
- Time1-1.5 hours for 30 bats
- Budget$8-$15
- Steps7
Paper bat wall decor is a cheap, dramatic way to make any room feel ready for Halloween. A few dozen black cardstock bats with folded wings, arranged in a swirl, look like they are pouring out of a doorway or flying past a mirror.
The magic is in the arrangement. Mixing three bat sizes and placing them in a loose curve, with the smallest bats at the far end, gives a sense of depth and motion that a straight row never does.
We will make a simple template, cut the bats in batches, fold the wings for a 3D effect and hang them with removable adhesive so your walls stay safe.
Materials & tools
Tick things off as you gather them. We’ll remember your list on this device.
You’ll need
Tools
Step-by-step instructions
Draw the templates
Fold a piece of plain paper in half and draw half a bat along the fold: a rounded body, two small pointed ears, and a wing with three scalloped dips along the bottom edge. Cut it out and unfold for a symmetrical bat. Make three sizes, roughly 4, 6 and 9 inches wide. Trace the finished templates onto thin cardboard, such as a cereal box, so they hold up to repeated tracing.
Trace onto cardstock
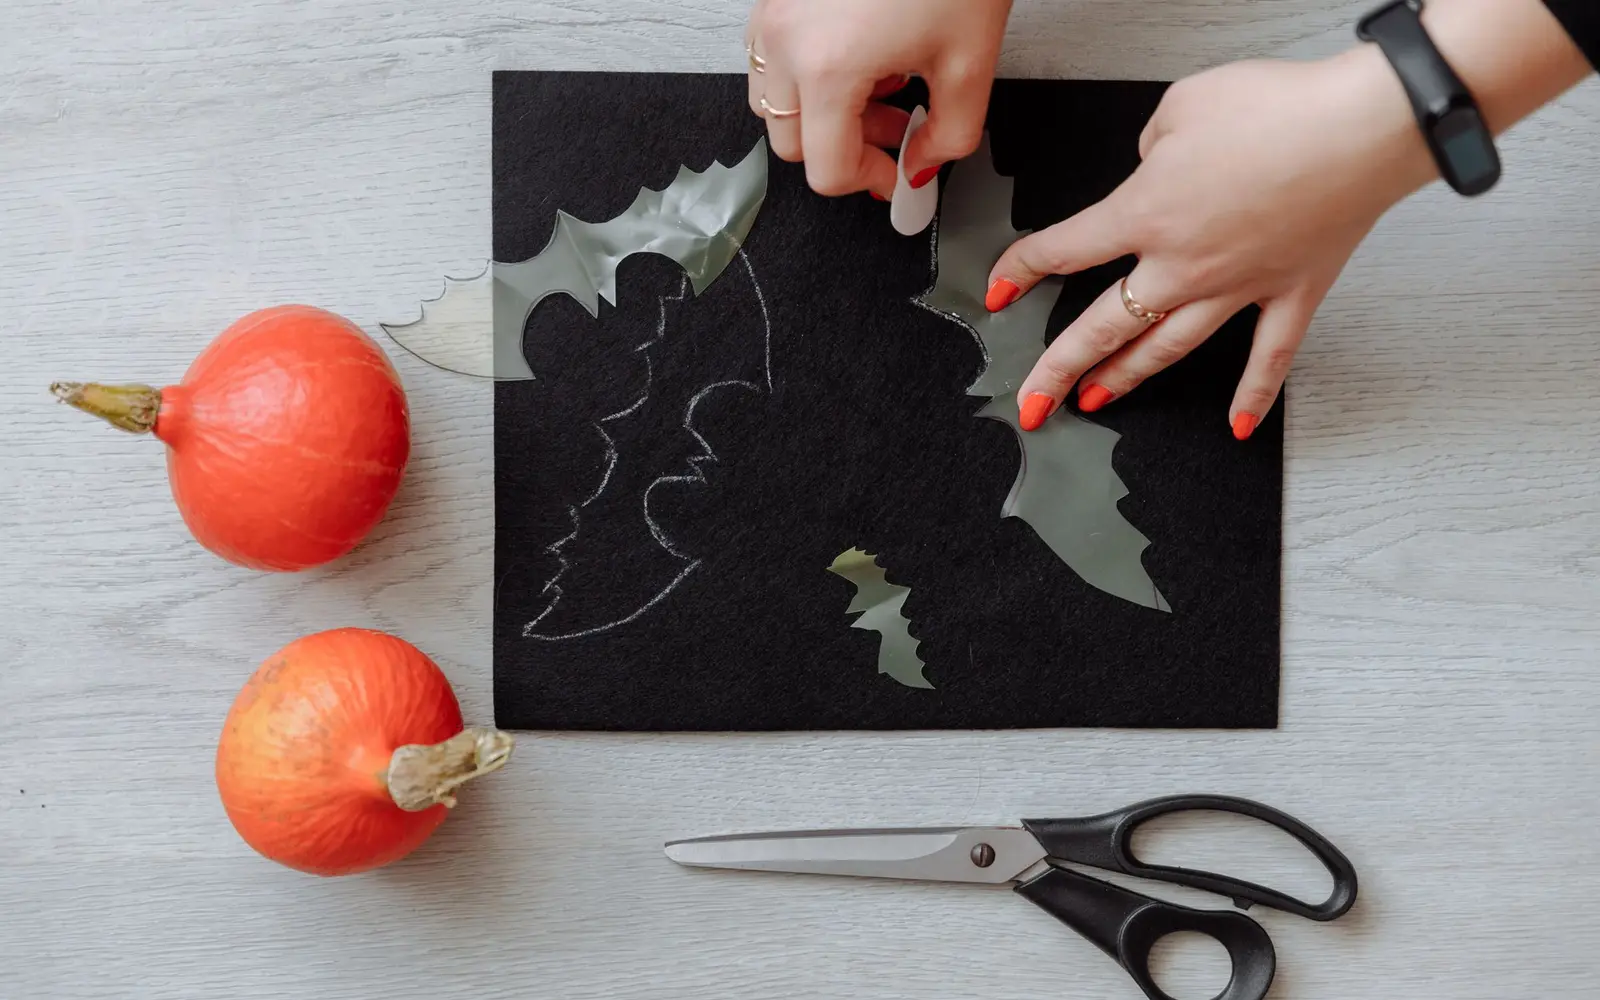
Trace around the templates on the back of the black cardstock with a white gel pen or pencil so the lines are visible. Nest the shapes closely to fit 4-6 small bats or 2 large bats per sheet.
Cut the bats
Cut out each bat with sharp scissors, turning the paper rather than the scissors around the scallops. Use a craft knife on a cutting mat for tight inner points, always cutting away from your fingers.
Fold the wings
Fold each bat in half down the center, then fold each wing back toward the body about 1/2 inch from the center line, accordion style. When opened slightly, the body sits flat and the wings lift off the wall.
Add details (optional)
For a little personality, add tiny eyes with a white gel pen or small sticker dots. Leave most of the swarm plain, though; silhouettes read more clearly from across a room.
Plan the swarm
Use small pieces of painter’s tape to mark a loose S-curve or swirl on the wall. Start with the largest bats at one end, mix sizes in the middle, and let the smallest bats trail off at the other end.
Hang the bats
Press a pea-size piece of mounting putty or a removable mounting square onto the flat body of each bat and press it to the wall. Angle the bats slightly differently so they look like they are flying, not lined up. Step back every few bats to check the overall curve, and adjust before the putty is pressed firmly.
Tips for success
- Test your adhesive on a hidden spot first, especially on freshly painted or textured walls.
- Turn cut bats over before hanging; any pencil marks end up against the wall.
- Leave a bit more space between the small bats at the end of the swarm. Spacing that widens as the bats get smaller reads as distance.
- Keep craft knives away from kids and always store the blade capped. Kids can trace and fold while an adult cuts.
- Batch-cut by stapling two sheets of cardstock together in the margins, outside the bat outlines, so you cut two bats at a time.
Make it your own
Bats from a mirror
Start the swarm at the edge of a hallway mirror or framed print so it looks like the bats are flying out of it.
Window silhouettes
Stick bats to a window with a little clear tape facing outward; they look great as dark silhouettes from outside at dusk.
Hanging mobile
Punch a tiny hole at the top of each bat and hang them from fishing line on a small embroidery hoop or branch.
Two-tone bats
Glue a slightly smaller purple or orange bat behind each black one so a thin colored outline shows around the edges.
Frequently asked questions
How many bats do I need for paper bat wall decor?
Around 20-30 bats covers a section of wall above a sofa or console. A full corner-to-ceiling swirl may need 40 or more. Start with fewer and add bats until the shape looks full; it is easy to cut more.
Will mounting putty damage my walls?
Removable putty usually comes off cleanly from smooth painted walls if you peel it off slowly. Always test first, and avoid wallpaper and paint applied within the last few weeks. Roll any leftover residue off with a fresh ball of putty.
Can I reuse the bats next year?
Yes. Remove the putty, store the bats flat in a folder or envelope, and gently re-fold the wings before hanging again. Cardstock bats can easily last several seasons.